Hi everyone! I’m excited to have the girls from Sincerely Jean here guest posting today! They’ve got some delicious caramel apple nachos to share with you today just in time for you to plan a weekend apple picking trip!
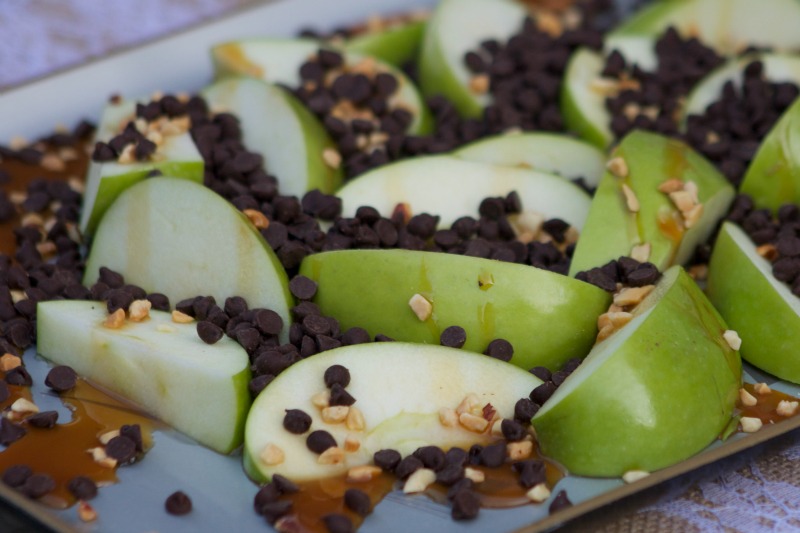
Hello Just Us Four readers! It’s Shari, Tami, and Patti from Sincerely Jean. Today we are sharing Tami’s recipe for caramel apple nachos! We hope you enjoy!…
…